Custom Textile Patterns: From Concept to Production
How luxury interiors move from inspiration to a finished, production‑ready textile
In luxury interiors, textiles are more than decoration — they’re storytelling devices. A custom pattern can define the mood of a room, anchor a concept, or become the signature element of a brand’s identity. When interior designers and luxury brands understand the full end‑to‑end process, projects run smoother, revisions decrease, and the final textile aligns perfectly with the design intent.
This guide is written specifically for interior designers, boutique studios, and luxury interior brands commissioning custom prints for upholstery, drapery, wallcoverings, and bespoke soft furnishings. My approach is collaborative, research‑led, and deeply production‑minded, ensuring every pattern is both beautiful and technically ready for high‑performance interior applications.
Step 1 — Clarify the Design Brief
Goal: Turn a conceptual interior vision into a precise, actionable textile brief.
Luxury interiors often begin with a feeling — a palette, a story, a material direction. But translating that into a textile requires both creative and technical clarity.
Creative vs Technical Brief
Creative brief: the interior concept, mood, palette, architectural style, and emotional intent.
Technical brief: repeat size, print method, substrate, performance requirements, colour limits, and deadlines.
Core questions for interior projects
Where will the textile live? Upholstery, drapery, cushions, wallcoverings, bespoke furniture.
Who is the client? Boutique hotel, private residence, heritage restoration, luxury retail.
Performance needs: UV resistance, abrasion ratings, flame retardancy, washability.
Print method: Digital for rich detail; screen/rotary for large‑scale production; wide‑format for wallcoverings.
Scale: Does the pattern need multiple scales for different applications?
Colourways: Are brand colours involved? Is the palette architectural or seasonal?
Timeline: Installation dates, procurement windows, and sampling deadlines.
Once these are defined, I translate them into a written brief and a mood direction that aligns with the interior concept.
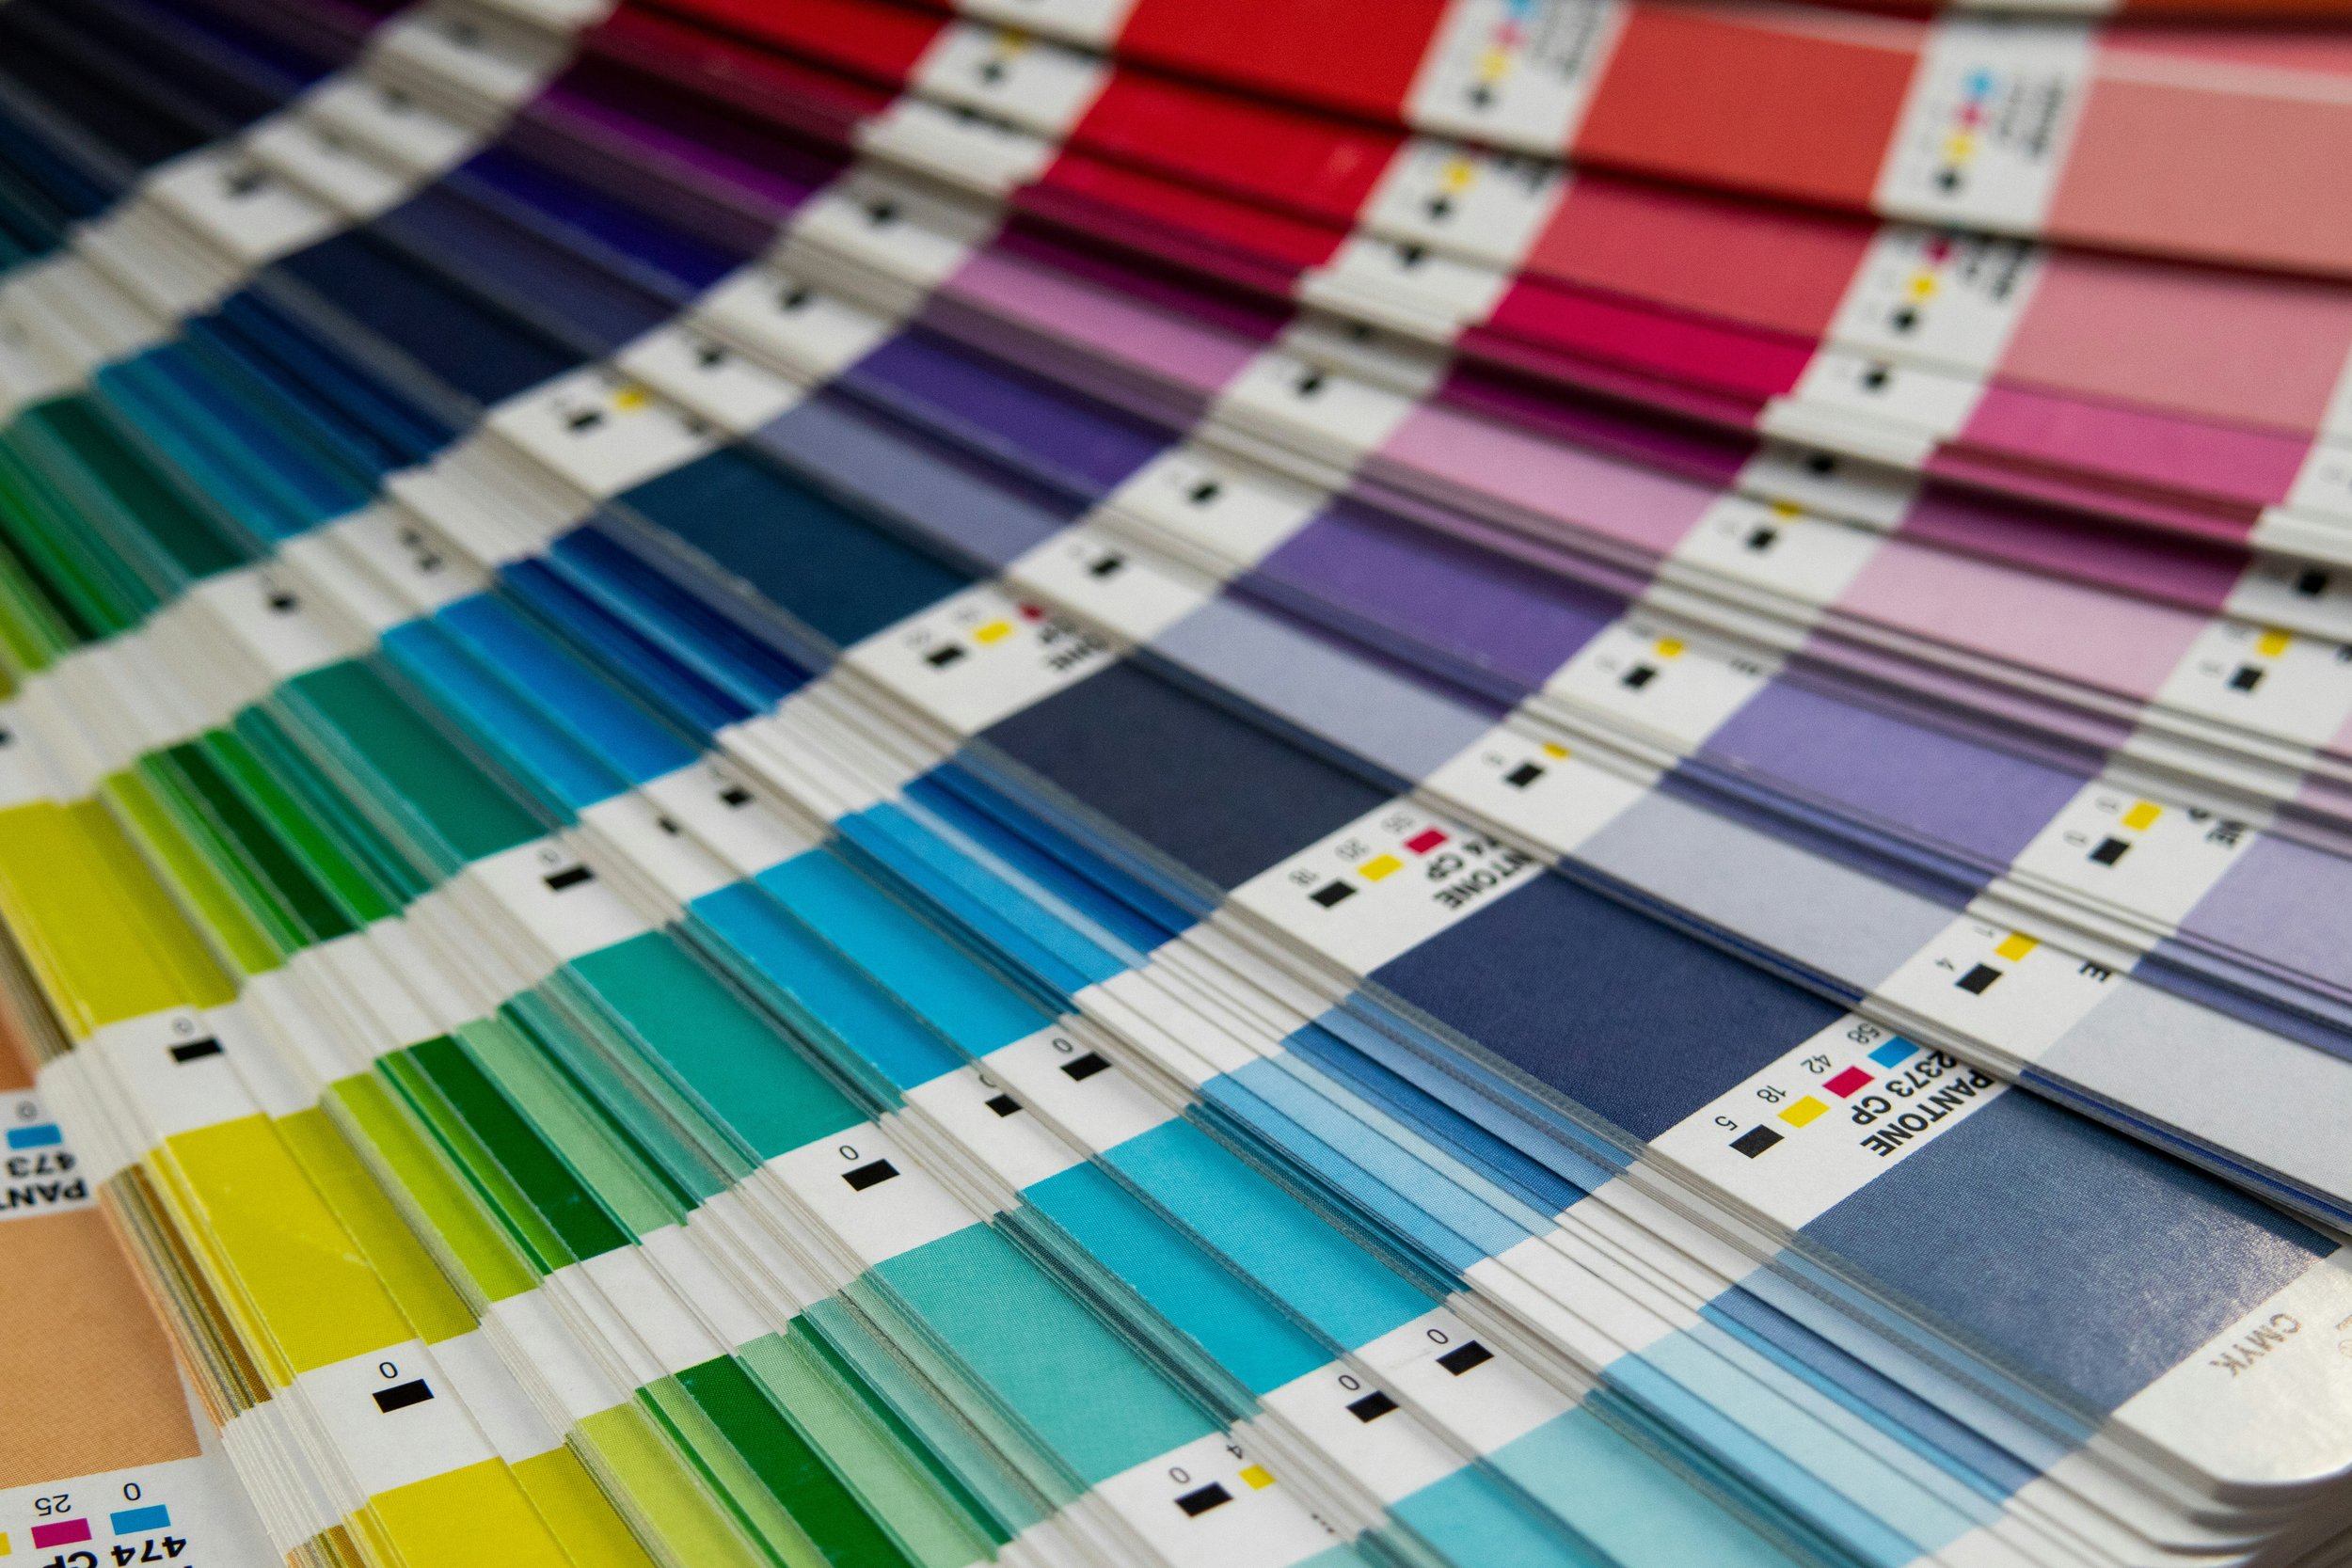
Photo by Toa Heftiba on Unsplash
Mini Checklist for Interior Designers
End use + substrate defined
Client brand positioning clear
Print method + performance constraints confirmed
Repeat size + scale requirements noted
Timeline + deliverables agreed
Step 2 — Research & Mood Boarding
Goal: Build a visual foundation that aligns with the interior concept and luxury market.
Research for interiors is grounded in materiality and atmosphere. Inspiration often comes from:
Architectural details
Heritage references
Colour libraries (Pantone, TCX, Lab values)
Trend reports for luxury interiors
Fabric swatches, trims, and texture studies
Natural materials (stone, timber, botanicals)
A focused mood board includes colour, motif direction, texture, material references, and scale cues. This ensures the textile supports the interior rather than competing with it.
Saving colour references early ensures consistency across upholstery, drapery, and wallcoverings.
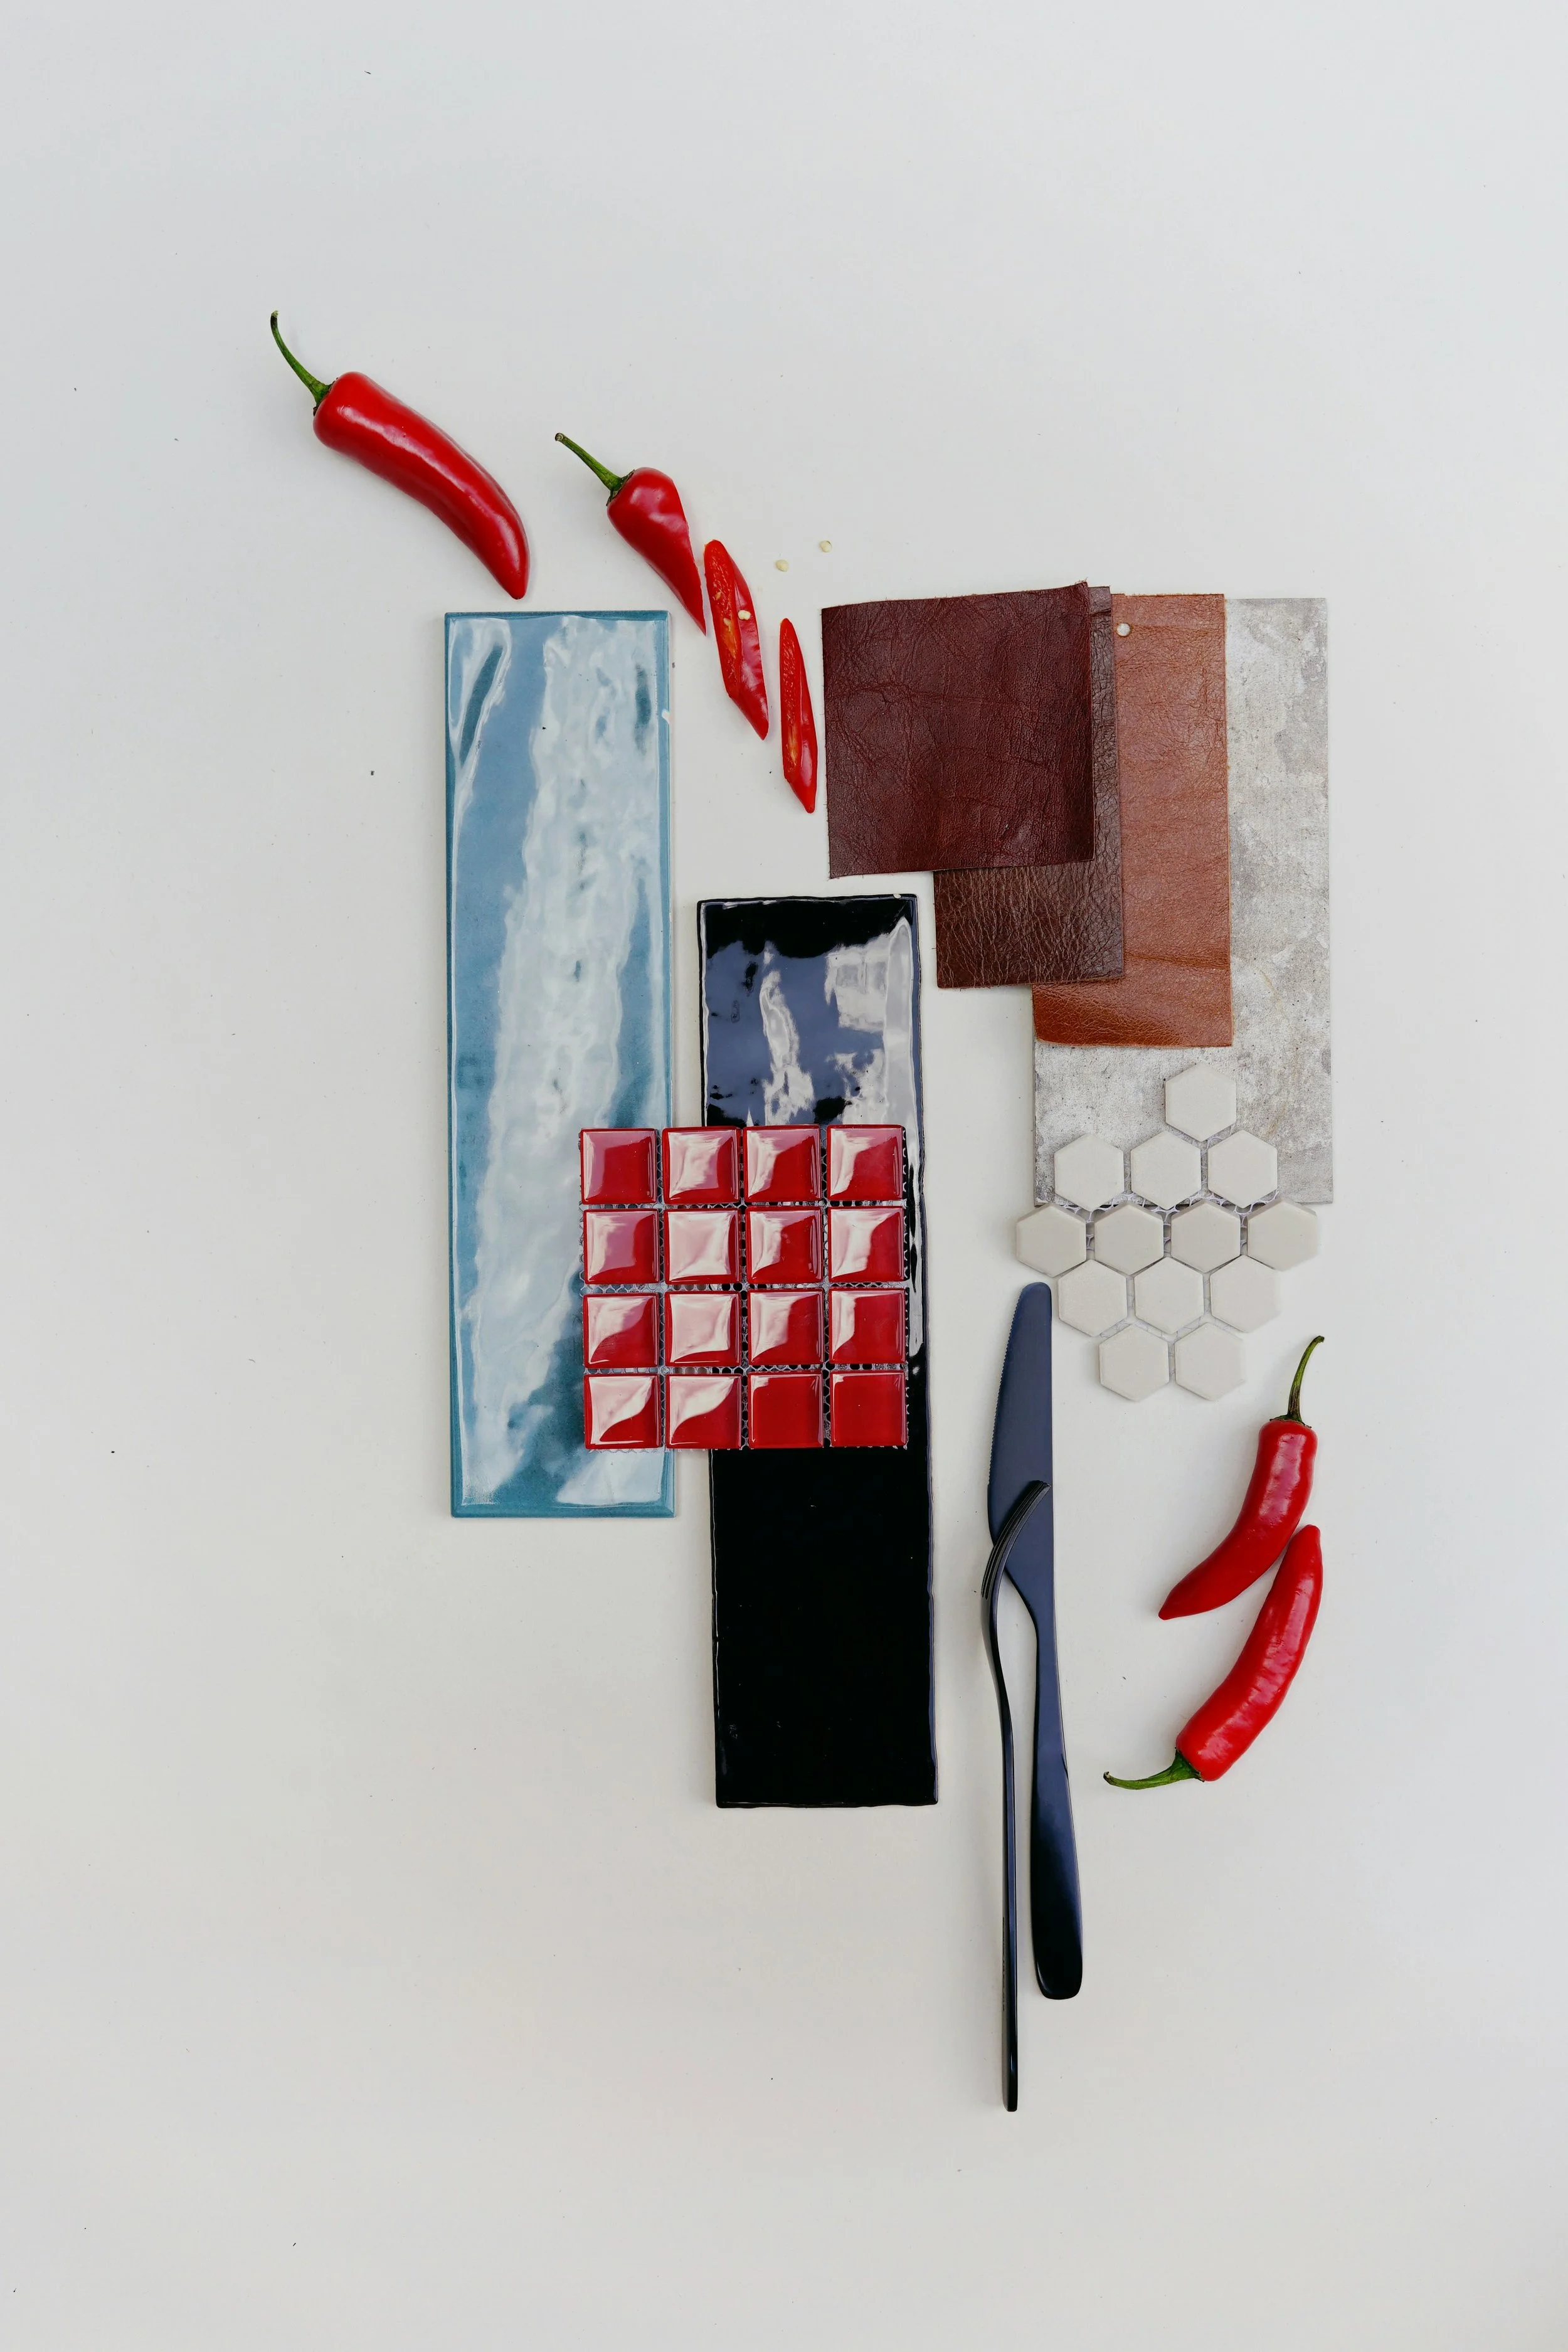
Photo by Toa Heftiba on Unsplash
Step 3 — Hand‑Drawn Exploration & Sketching
Goal: Generate original motifs that feel bespoke, intentional, and aligned with the space.
Luxury interiors thrive on authenticity. Hand‑drawn motifs — ink, watercolour, charcoal, pencil — create artwork that feels crafted, tactile, and deeply connected to the design story.
Sketchbook workflows include:
Motif studies inspired by architecture or nature
Thumbnail repeat explorations
Scale experiments for large‑format applications (e.g., wallcoverings)
Loose mark‑making to discover unexpected shapes
Clients should expect several distinct directions at this stage — it’s the exploration phase, not the final pattern.
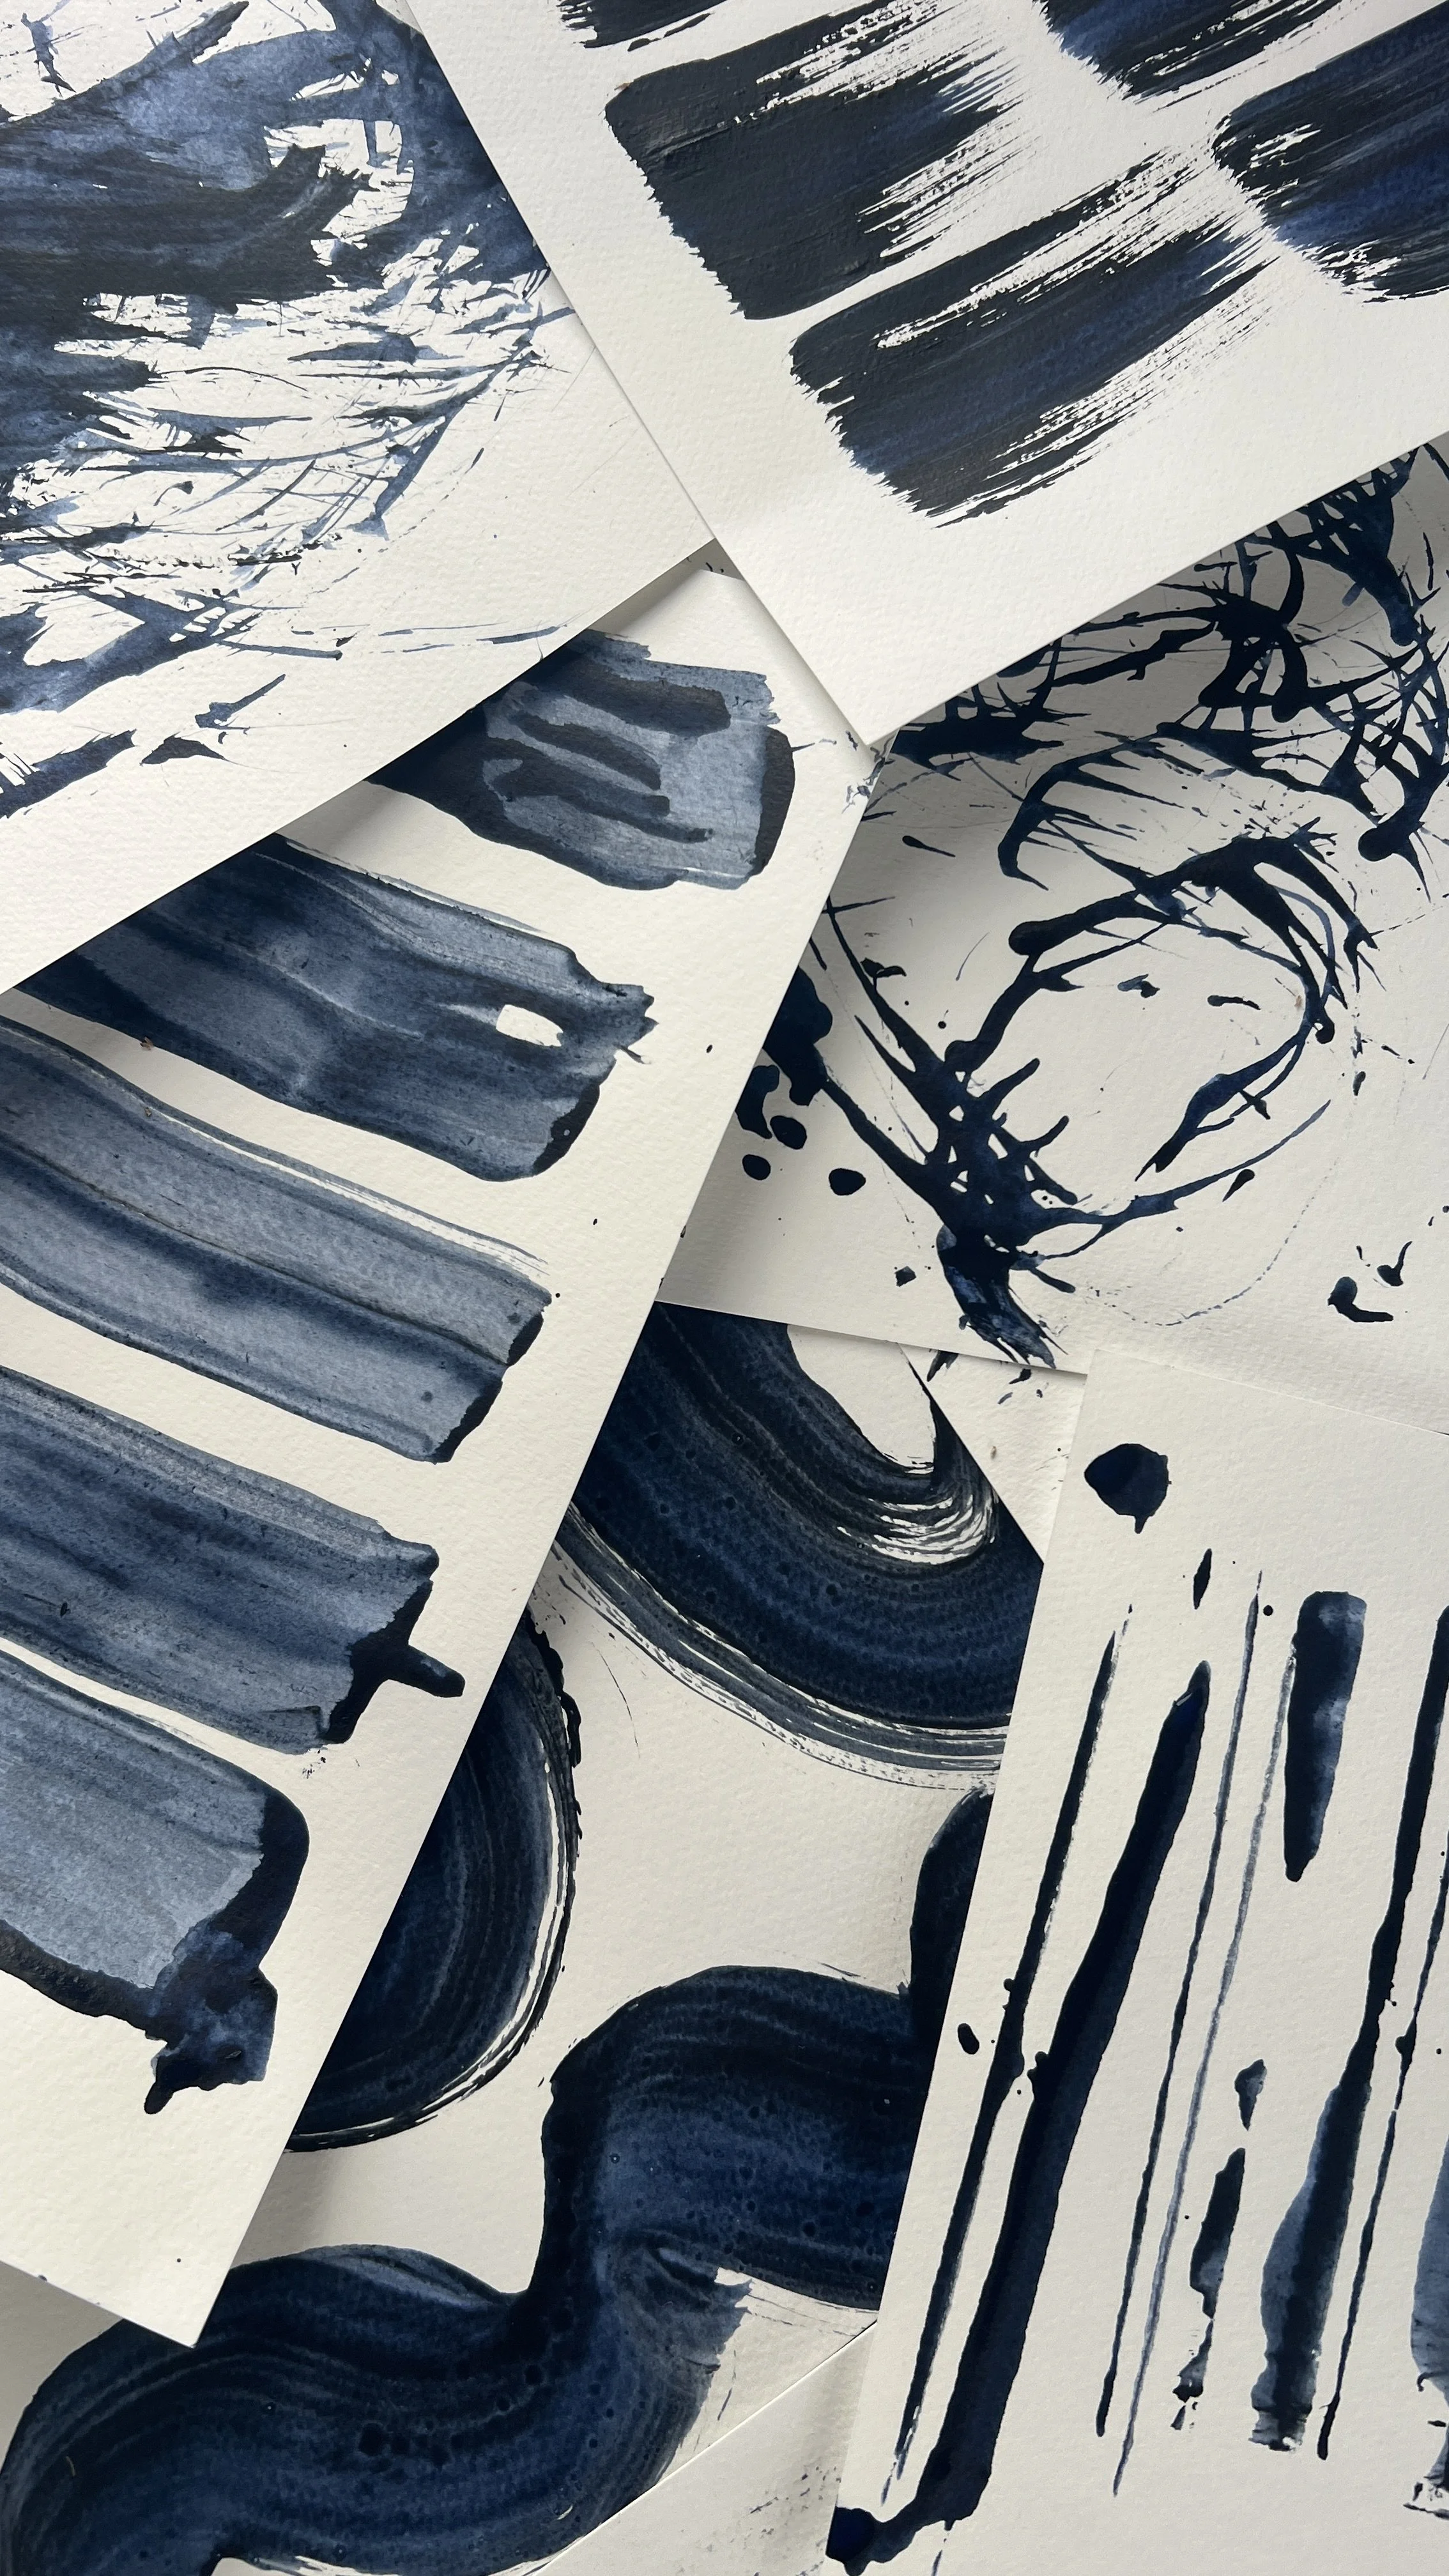
Nelléne - making marks with Indigo paint
Step 4 — Digitise Artwork & Set Up Files
Goal: Move from paper to a clean, production‑ready digital workspace.
Interior textiles require precision. Technical setup ensures the artwork prints beautifully on upholstery, drapery, or wallcovering substrates.
Key considerations
Colour mode: RGB for digital; CMYK for mills.
Resolution: 300 DPI at final print size (critical for large repeats).
Document size: Match the intended repeat tile.
Layer organisation: Essential for recolouring and scaling across product types.
High‑resolution scanning preserves the hand‑drawn quality that luxury clients value.
Step 5 — Vectorise (When Appropriate)
Goal: Create scalable motifs for large‑format interior applications.
Vectorising is ideal for:
Architectural motifs
Geometric patterns
Clean, structured designs
Wallcoverings requiring large‑scale repeats
Many luxury interior patterns are hybrid — vector for structure, raster for texture — preserving artistry while ensuring scalability.
Step 6 — Re‑colour & Build the Pattern Block
Goal: Develop a cohesive colour story and a seamless repeat that suits the interior.
Colour is everything in interiors. The palette must harmonise with flooring, furniture, lighting, and architectural finishes.
Key steps
Build a palette from the interior concept and brand colours.
Recolour motifs using global colours or swatch libraries.
Construct the repeat (full drop, half‑drop, brick, mirror).
Check balance, density, and flow.
Tile the pattern 3×3 to ensure seamlessness — especially important for wallcoverings and large upholstery pieces.
Step 7 — Create Multiple Colourways
Goal: Offer options that work across interior palettes and product types.
Luxury projects often require:
A hero colourway
A neutral or tonal option
A darker, moodier version
A brand‑specific palette
Colourways must remain consistent in value and contrast for reliable printing across substrates.
Document all colour references for production.
Step 8 — Test Repeat & Scale Across Interior Applications
Goal: Ensure the pattern works on upholstery, drapery, cushions, and wallcoverings.
Tools like PatternPal Pro help test:
Seamless repeats
Large‑format scaling for wallcoverings
Smaller scales for cushions or trims
Striping or repetitive artefacts
Motif spacing for different substrates
A scale reference sheet (10 cm, 30 cm, 60 cm repeats) helps interior designers visualise how the pattern behaves in a room.
Step 9 — Mockups at Correct Scale
Goal: Show how the pattern will transform the interior.
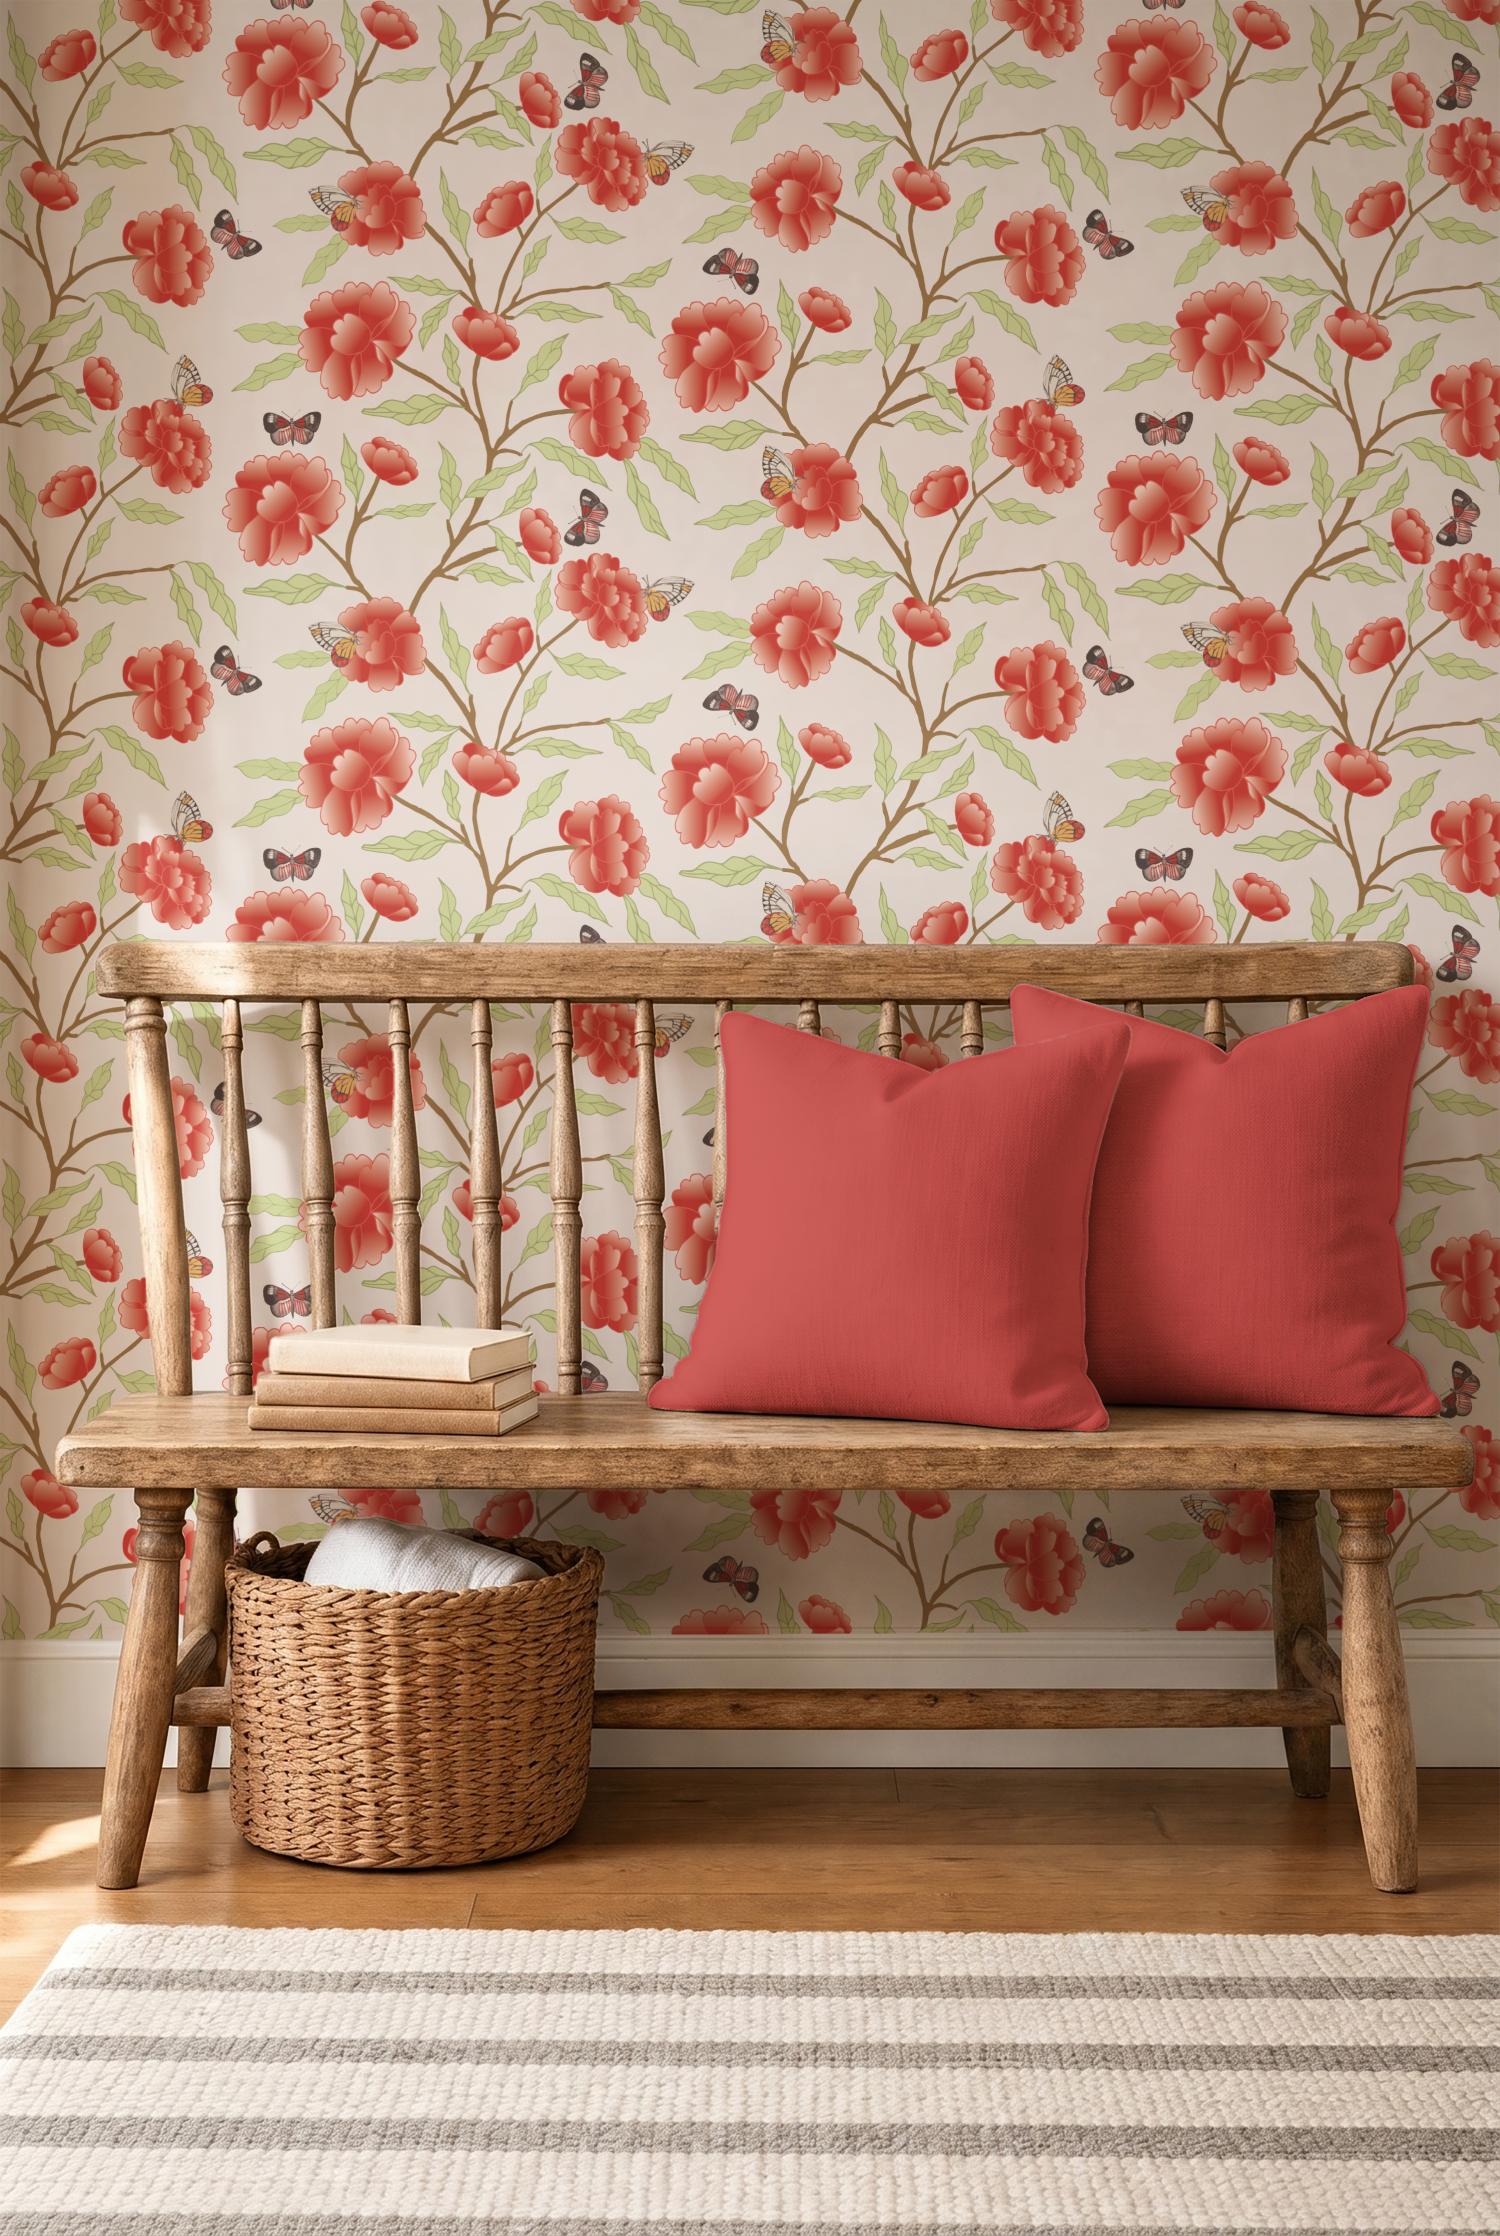
Scale‑accurate mockups are essential for luxury clients. A pattern behaves differently on:
A sofa
A drapery panel
A cushion
A feature wall
A bespoke headboard
Mockups help designers and clients make confident decisions before sampling. Include at least one in‑context mockup per product type.
Step 10 — Prepare Files for Submission
Goal: Deliver production‑ready files that mills and printers can use without guesswork.
Most mills expect:
Resolution: 300 DPI at final print size
Colour mode: CMYK for mills; RGB for digital
File format: TIFF or high‑quality PNG
Repeat tile: Cropped exactly to one repeat
Bleed: 3–5 mm for cut‑and‑sew items
Layers: Flattened unless specified
ICC profile: Embedded (e.g., Fogra39)
Naming: Design code + date + colourway + scale
Production Checklist
Resolution confirmed at final print size
Correct colour mode + profile embedded
Seamless repeat verified
TIFF/PNG format
Bleed added where needed
Clear file naming