Custom textile design is one of the most rewarding parts of interior design — but it’s also one of the riskiest. Colours shift, fabrics behave differently, and what looks perfect on a screen can fall apart in real‑world conditions. Testing your textile design before production isn’t just a technical step; it’s a creative safeguard. It protects your client’s vision, your reputation, and the emotional magic that happens when a custom piece arrives exactly as imagined.
As an interior and surface pattern designer based in Auckland, I’ve developed a meticulous, tactile, and collaborative process that ensures every custom textile is beautiful, durable, and true to the design intent. Here’s how I minimise risk and maximise confidence before any fabric goes into full production — illustrated through a recent project with a multi‑award‑winning Auckland interior designer.
1. Start With a Clear Brief — and a Clear Intention
My client approached me wanting to recolour and rescale one of my existing designs into two custom colours for a bedroom chair. The brief was simple but specific:
Two custom colours
Scaled down by 50%
Printed on a strong, light‑fast upholstery fabric
Suitable for a sunny corner with all‑day UV exposure
A clear brief is the foundation of risk‑free production. It narrows the field, reduces overwhelm, and ensures every decision supports the final space.
2. Test the Repeat, Scale, and Digital Accuracy First
Before touching fabric, I test the digital file thoroughly.
PatternPal Pro: My First Line of Defence
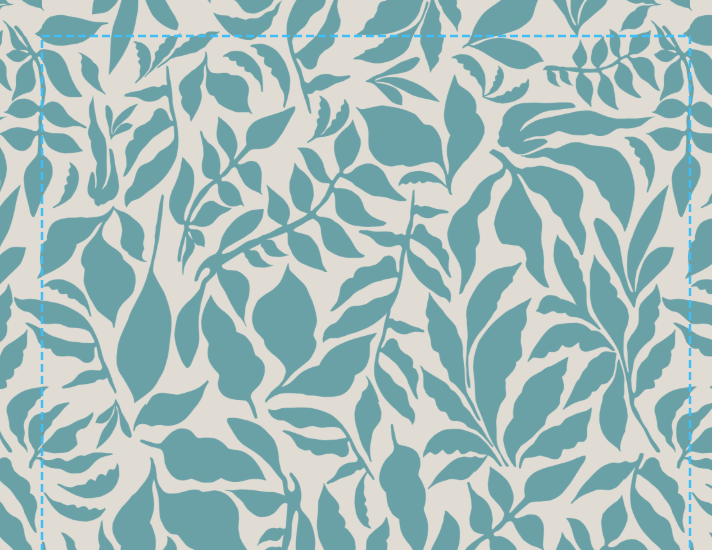
I use PatternPal Pro by AmandaGrace Design — a powerful online repeat‑testing tool. It checks every edge and boundary to ensure the pattern tiles seamlessly. It also allows me to scale the pattern up or down and generate accurate mockups.
Spoonflower’s Built‑In Tester
Once the repeat is perfect, I upload the design to Spoonflower. Their pattern tester and mockup generator help me preview how the design will sit on specific upholstery fabrics.
In this project, the designer loved the recoloured and rescaled pattern on the chair mockup — but she raised a crucial concern: Would the blue dye from her jeans rub off on the stone‑coloured background?
This is exactly why testing matters. Digital mockups can’t reveal real‑world behaviour.
3. Test Fabric Behaviour in Real Life
Colour is only half the story. Fabric behaviour — strength, rub resistance, UV stability, tactile feel — determines whether a textile will thrive in its intended space.
I sourced five commercial‑grade upholstery samples for my client to test. She rubbed them against her jeans, checked the stretch, felt the weight, and evaluated the stability of the warp and weft.
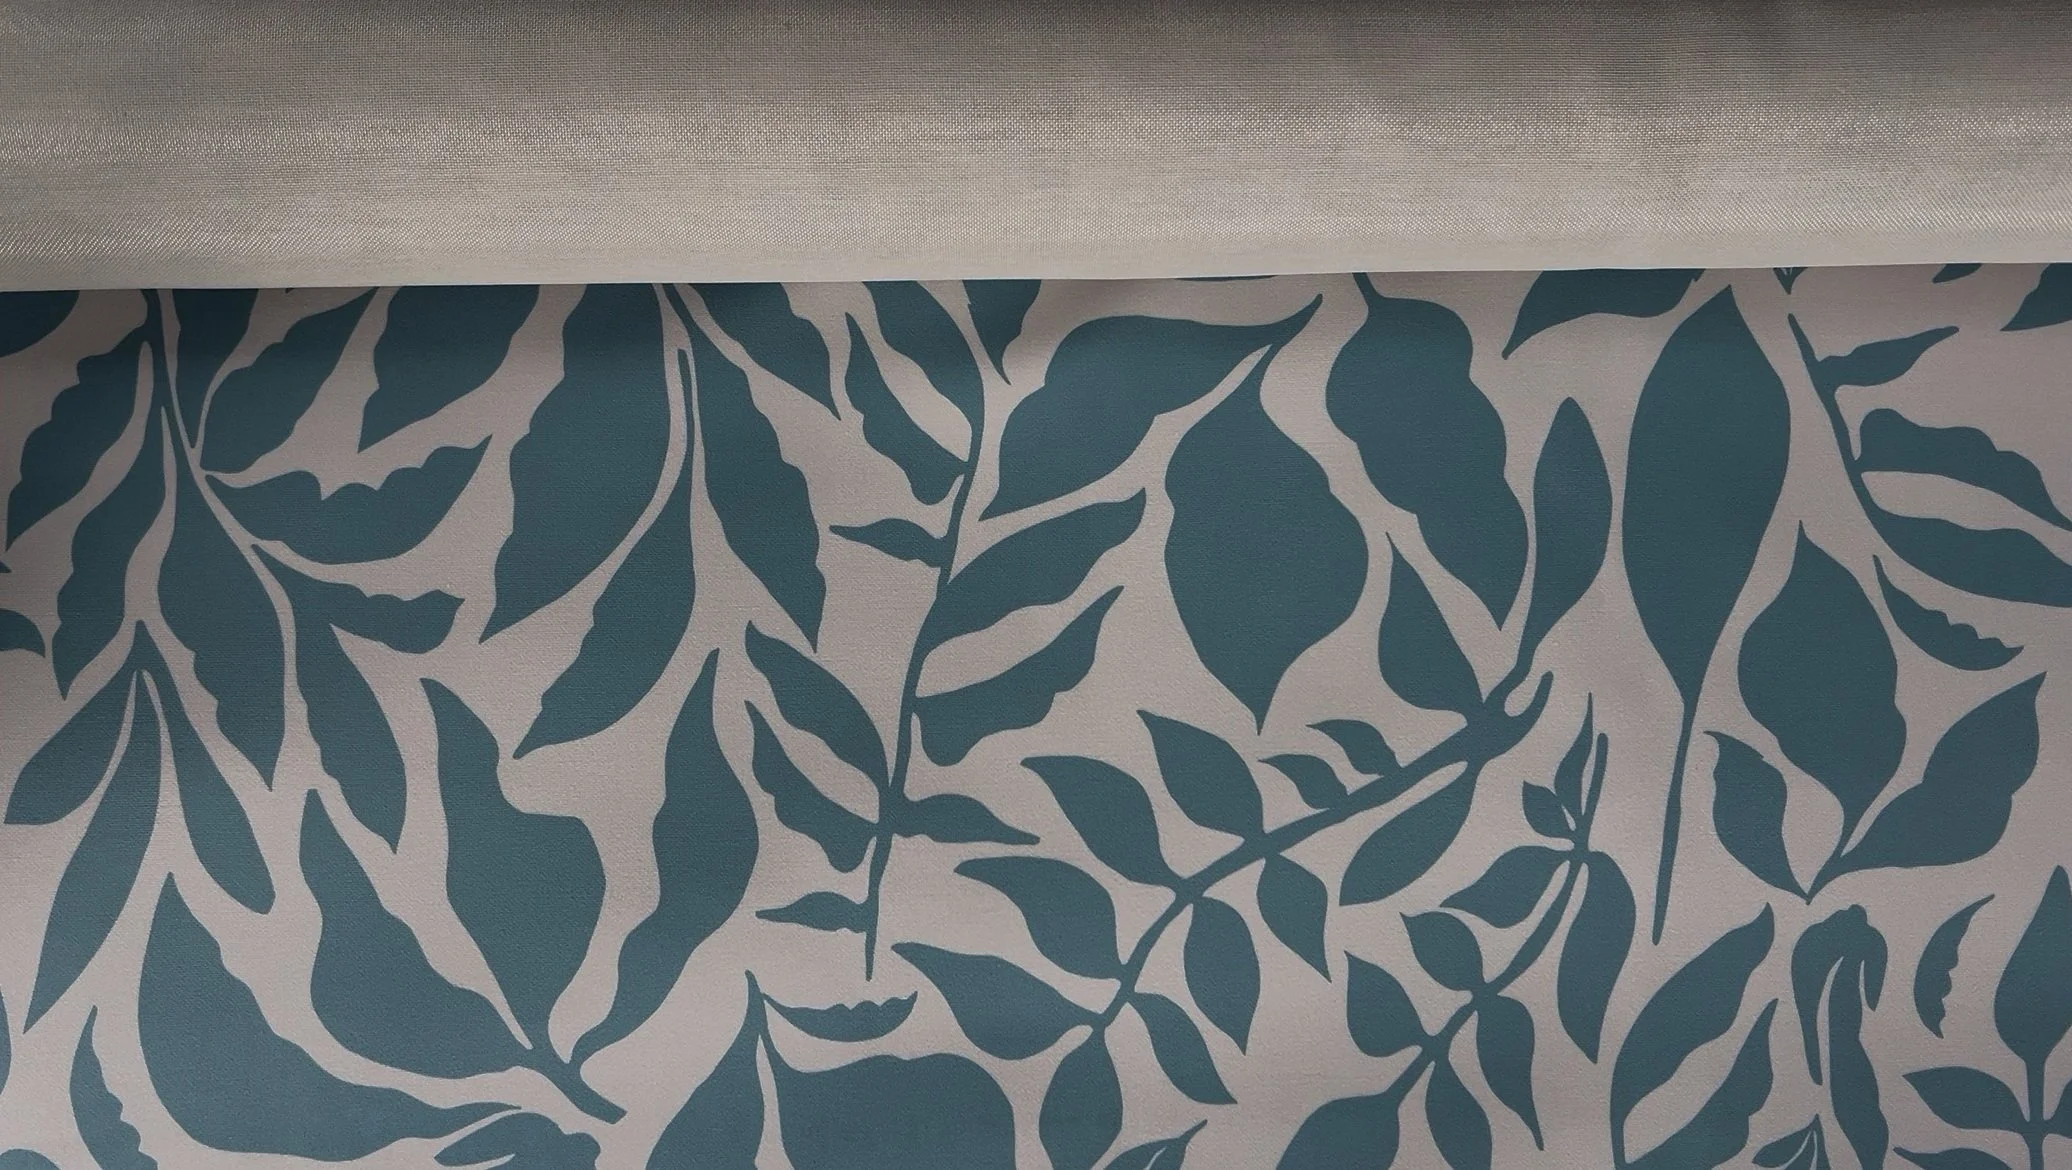
She ultimately chose a luxurious matte velvet with excellent rub resistance and strong UV stability — perfect for a sunny bedroom corner.
This step is essential because:
The same colour prints differently on linen, polyester, matte velvet, and slub velvet
Linen softens and mutes colour
Velvet enriches colour and adds sheen
Polyester offers superior UV resistance
Tactility influences emotional connection
Testing ensures the fabric supports both the aesthetic and the functional needs of the space.
4. Evaluate Colour Accuracy in the Actual Space
Colour accuracy is one of the biggest risks in textile production.
I work on a large, colour‑accurate monitor, but I never rely on screens alone. I compare digital colours with physical Pantone or paint swatches, and I always recommend clients view samples in the space where the fabric will live.
Light changes everything:
Morning vs. afternoon sun
Cool vs. warm artificial lighting
Reflections from walls, flooring, and nearby furniture
A colour that looks perfect in the studio can shift dramatically in a client’s home. Giving clients a day or two with samples allows them to make confident, informed decisions.
5. Inspect the Physical Sample for Print Quality and Fabric Performance
When the printed sample arrives, I look for:
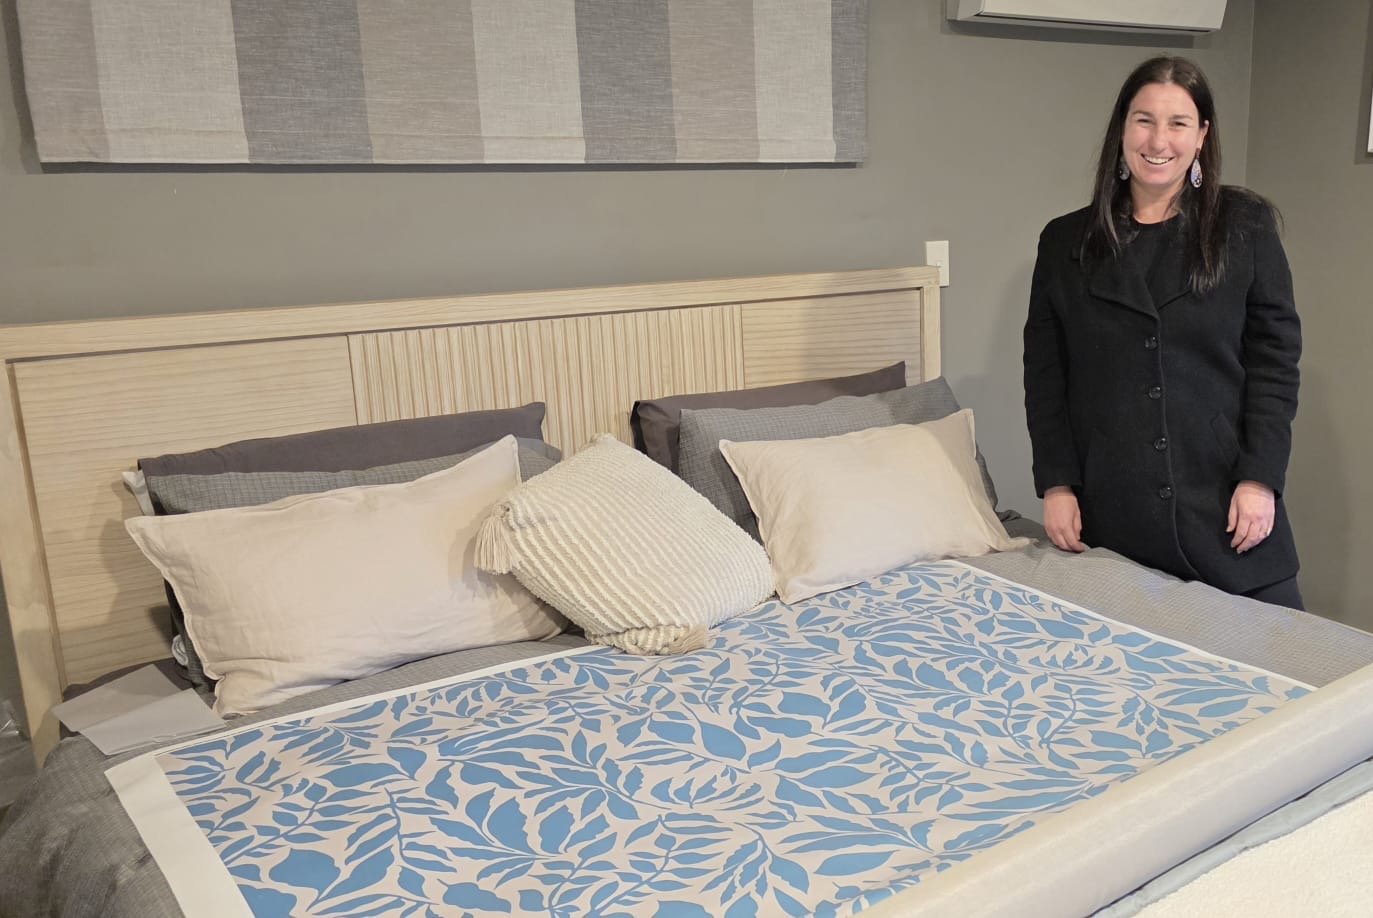
How the colour sits on the surface In this project, both the turquoise and stone tones developed a soft pearl sheen on the matte velvet — luxurious and dimensional.
How the print behaves with the fabric’s direction Velvet has a pile, so I check the print with the slub brushed both up and down.
Warp/weft stability A stable weave ensures the fabric won’t distort during upholstery.
Multidirectional usability I designed this pattern to be multidirectional, making upholstery easier and reducing waste.
These checks ensure the final fabric performs beautifully during manufacturing and daily use.
6. Prepare Professional, Printer‑Ready Files
Professionalism reduces risk for everyone involved.
I:
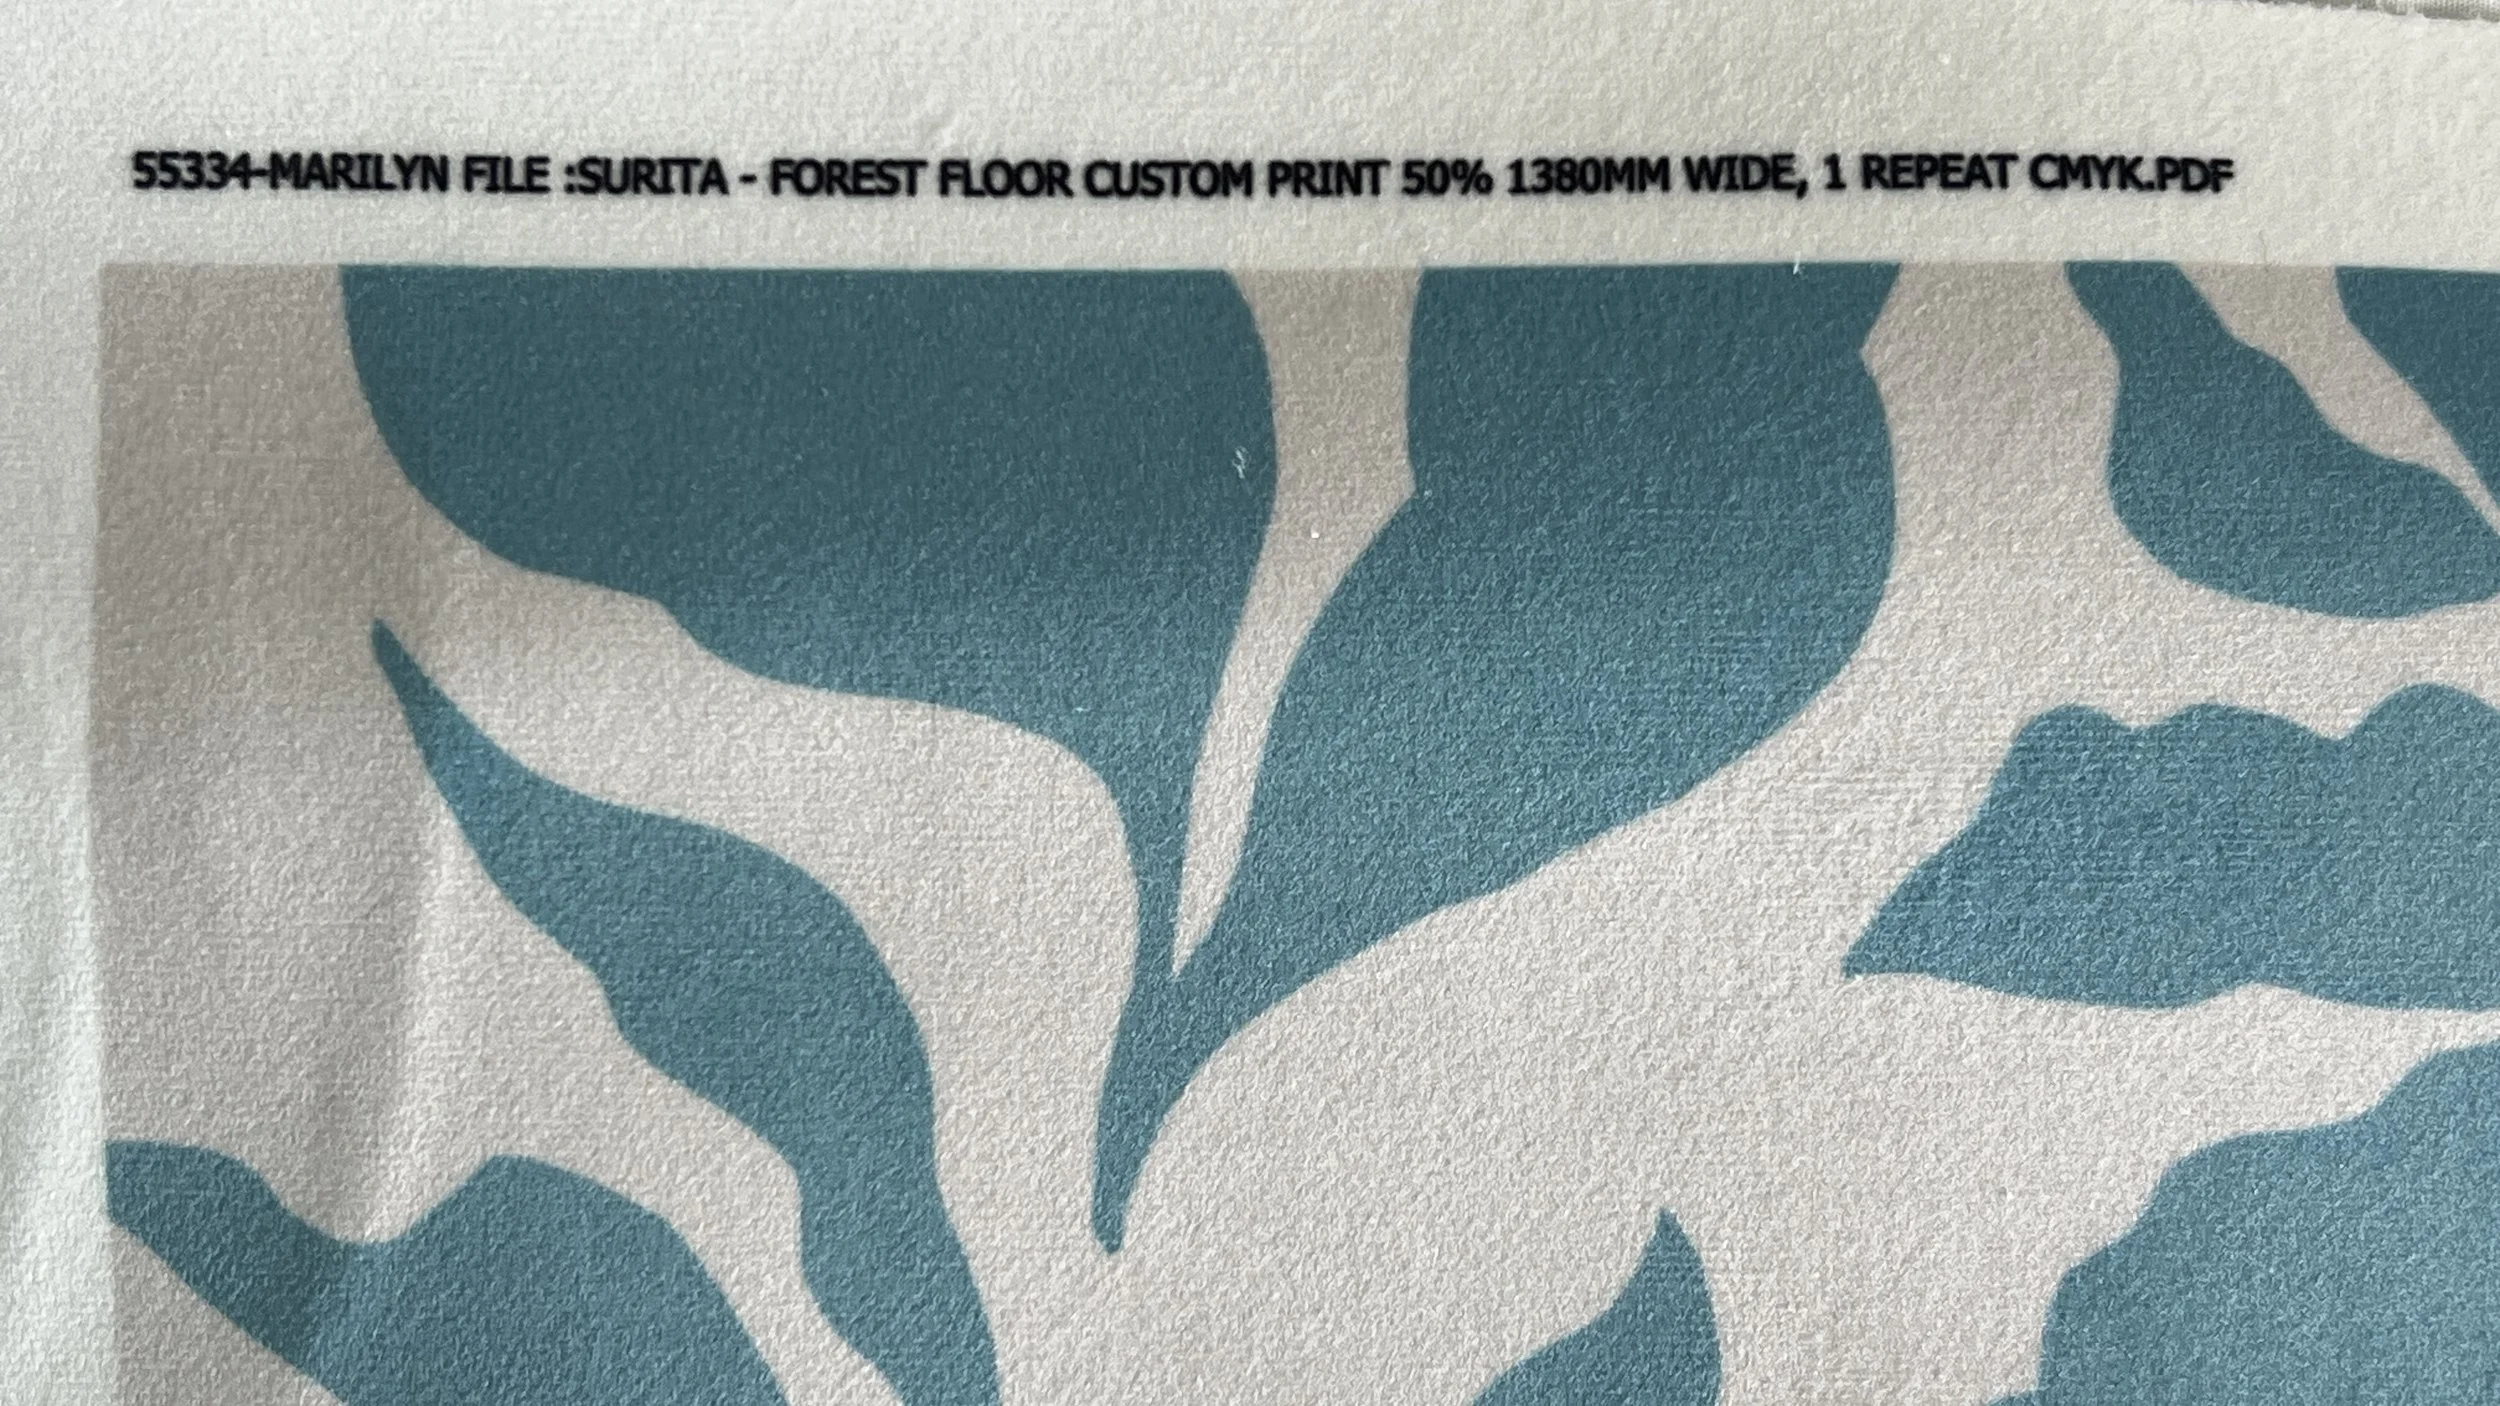
Rescale the pattern block to the exact printable width
Prepare a high‑resolution CMYK PDF
Follow the printer’s exact technical requirements
Communicate colour values clearly (Hex, Pantone, or both)
A clean, precise file means fewer production errors and faster turnaround.
7. Deliver a Custom Textile That Feels Truly Personal
The fabric arrived within three days — flawless, vibrant, soft, and exactly what my client envisioned. Her name was printed on the selvage, and when she saw it, she said she wanted to add that detail to the fringe of her chair.
Her husband joked that the chair would be the only thing she takes with her to the retirement village one day.
That moment reminded me why custom textile design matters. Exclusivity is powerful. Emotional connection is priceless.
She had access to thousands of fabrics — but none felt as meaningful as the one we created together.
Final Thoughts: Testing Is Not a Step — It’s a Philosophy
Testing your textile design before production protects:
Your client’s investment
The longevity of the piece
The beauty of the final result
The emotional experience of owning something bespoke
My philosophy is simple: Cover every base, communicate clearly, test thoroughly, and honour the tactile, sensory nature of fabric.
Custom work always carries risk — but with the right process, it becomes a joyful, collaborative, and deeply rewarding experience.